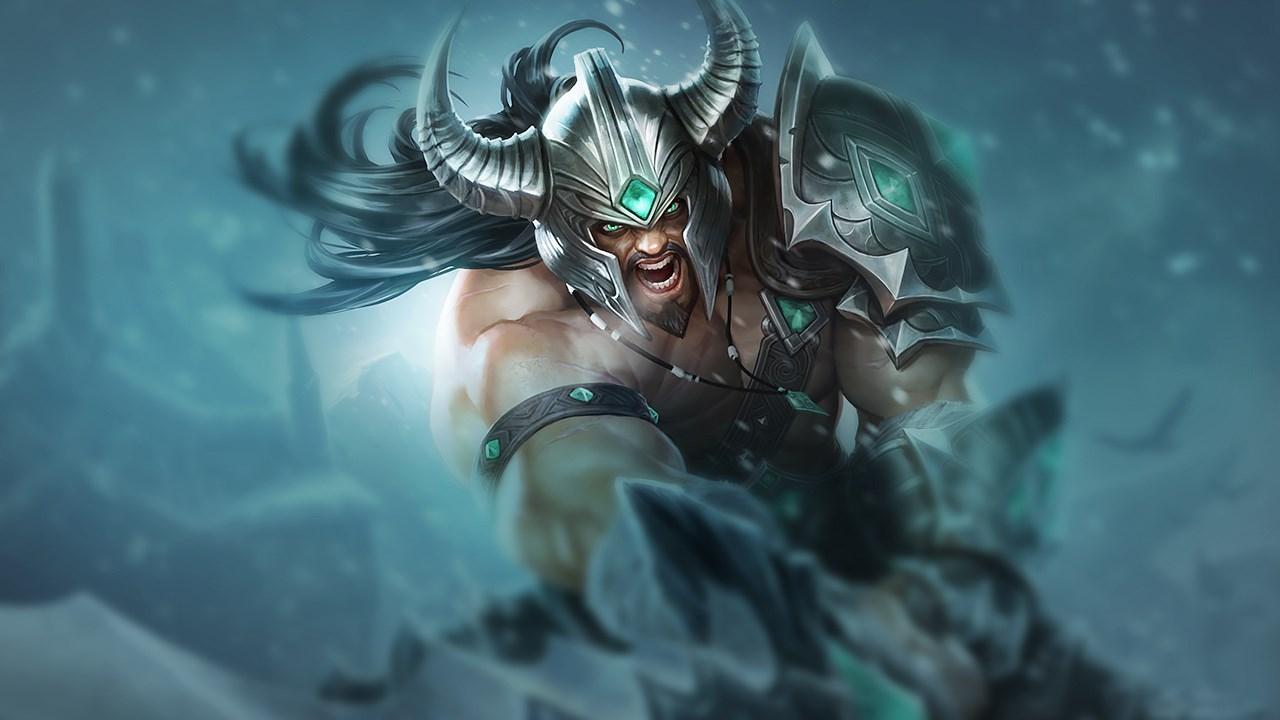

Tryndamere Synergies Patch 16.7: Best and Worst Picks with Tryndamere
Find the best champions to pair with Tryndamere for Top Lane using win rate data on LoLTheory. Optimize your team composition in LoL Season 16 Patch 16.7.
Recommendation Methods
Learn more about recommendationsLearn more
Classic
Based on the typical player's experience with each champion—e.g., the average Vayne player has more games with Vayne than the average Ahri player has with Ahri
Fixed Experience
∙ Expand champion poolAssume a standard experience of 25 games per champion for fair comparison. Use this to understand the meta and expand your champion pool
Personalized
∙ Win more short termMaximize your next game's win rate by analyzing your ranked history—performance and game count—for all champions over the last 10 patches.
Your riot id
Learn more about recommendationsLearn more
Best Picks with Tryndamere
Champions that perform well alongside Tryndamere in team compositions. Listed by highest win rates when paired with Tryndamere in Platinum ranked matches.
ChampionRoleWR%


Worst Picks with Tryndamere
Champions that underperform when paired with Tryndamere. Ranked by lowest win rates when on the same team in Platinum matches.
ChampionRoleWR%


All
When Tryndamere activates his R (Undying Rage), engage aggressively with him. He cannot die for 5 seconds, creating a powerful window to force fights or tower dives.
Team Fight Skirmish
When Tryndamere split pushes, place control wards in the enemy jungle near his lane and create pressure on the opposite side of the map. His exceptional 1v1 potential forces enemies to send multiple people to stop him.
Late Game
Place deep wards in the enemy jungle and river to support Tryndamere's flanking attempts in teamfights. Since he struggles in front-to-back fights, enabling his flank access helps him reach vulnerable backline targets.
Team Fight
Prioritize ganking for Tryndamere when his ultimate is available. He's an early game bully who becomes extremely difficult to deal with when ahead, making him an excellent candidate for jungle attention in the first 15 minutes.
Basic Lane Phase
Tryndamere gains up to 50% critical strike chance based on his Fury bar (visible below his health). He's much stronger with full Fury, so allow him time to build it on minions before engaging in fights.
Basic Lane Phase Skirmish
When Tryndamere uses his W (Mocking Shout), capitalize on the slow it applies to enemies facing away from him. This 4-second slow creates a perfect opportunity for follow-up ganks and skillshots.
Skirmish
In teamfights, use your crowd control on enemy frontliners to create a path for Tryndamere to reach the backline. His E (Spinning Slash) has medium range, so he needs assistance bypassing tanks and bruisers.
Team Fight
Save some of your crowd control abilities until after enemies use CC on Tryndamere. This prevents him from being completely shut down during fights, as he's vulnerable to being kited despite his mobility.
Team Fight
In late game teamfights, help Tryndamere reach the backline by zoning or peeling enemy front-liners. Once he gets to enemy carries, his high damage output can quickly secure kills.
Advanced Late Game Team Fight
Pay attention to when Tryndamere uses his E (Spinning Slash). During this cooldown window, his mobility is significantly reduced, so be prepared to provide additional support or disengage options.
Advanced Skirmish


